How to Use Uniswap for Token Swaps
By Jason Miller – Crypto Writer 10.expert 🧠 Covering Bitcoin, altcoins, blockchain & Web3.
As a crypto writer and analyst, I often highlight the transformative power of decentralized finance (DeFi). At the heart of this revolution is Uniswap, the leading decentralized exchange (DEX) that has fundamentally changed how we swap cryptocurrencies. Unlike centralized exchanges (CEXs) where you trade against an order book maintained by an intermediary, Uniswap uses an Automated Market Maker (AMM) model powered by liquidity pools.
This means you swap tokens directly with a smart contract, pulling from a pool of assets supplied by other users (liquidity providers). In return, these liquidity providers earn a share of the trading fees. This peer-to-contract model offers unparalleled accessibility, permissionless trading, and self-custody – you always maintain control of your funds through your connected wallet.
In 2025, Uniswap (currently in its V3 iteration) is more sophisticated than ever, offering concentrated liquidity and multiple fee tiers, making it a powerful tool for altcoin trading and managing your crypto portfolio.
Let’s dive into how to use Uniswap for token swaps.
How to Use Uniswap for Token Swaps: Your Gateway to Decentralized Trading 🔄🚀
Uniswap has democratized crypto trading. Learning to use it effectively opens up a world of decentralized possibilities.
Understand Uniswap’s Core Concept: Automated Market Maker (AMM) 💡
- No Order Book: Unlike Binance or Coinbase, Uniswap doesn’t have buyers and sellers placing bids and asks.
- Liquidity Pools: Instead, it uses smart contracts called “liquidity pools” where users (liquidity providers) deposit pairs of tokens (e.g., ETH/USDC, UNI/ETH).
- Swapping with the Pool: When you swap, you’re interacting with this pool, exchanging one token for another based on an algorithm that maintains a constant product (x*y=k).
Choose a Compatible Web3 Wallet 👛
You need a non-custodial wallet that supports Ethereum and other EVM-compatible networks Uniswap operates on.
- MetaMask: The most popular browser extension wallet.
- WalletConnect: Allows you to connect various mobile wallets (e.g., Trust Wallet, Rainbow Wallet) by scanning a QR code.
- Hardware Wallets: For maximum security, connect your hardware wallet (Ledger, Trezor) through MetaMask or WalletConnect.
Ensure You Have ETH for Gas Fees ⛽
- Gas is King: Every transaction on the Ethereum network (and other EVM chains like Polygon, Arbitrum, Optimism where Uniswap also operates) requires a “gas fee” paid in the network’s native token (ETH for Ethereum, MATIC for Polygon, etc.).
- Insufficient Funds: If you don’t have enough ETH (or the native token of the chain you’re on) for gas, your transaction will fail.
- Gas Price Volatility: Gas fees fluctuate based on network congestion. Use gas trackers (e.g., Etherscan Gas Tracker, DefiLlama Gas) to find optimal times for lower fees.
- Bookmark It: Always go to
app.uniswap.org. Bookmark this URL to avoid phishing scams that create fake Uniswap sites. - Security Check: Verify the URL is correct and look for the padlock icon in your browser.
Connect Your Wallet to Uniswap 🔗
- “Connect Wallet” Button: On the Uniswap interface, click the “Connect Wallet” button (usually top right).
- Select Your Wallet: Choose your wallet from the list (MetaMask, WalletConnect, etc.) and follow the prompts in your wallet to confirm the connection.
Select the Tokens You Want to Swap ↔️
- “Swap” Tab: Ensure you are on the “Swap” tab.
- “From” Token: Click the first token dropdown to select the cryptocurrency you want to sell (e.g., ETH, USDC).
- “To” Token: Click the second token dropdown to select the cryptocurrency you want to buy (e.g., UNI, an obscure altcoin).
- Search by Name or Address: You can search for tokens by name or, more reliably, by pasting their contract address (found on CoinGecko, Etherscan, etc.) to ensure you’re selecting the correct token and avoiding fakes.
Enter the Swap Amount 🔢
- Input Amount: Enter the amount of the “From” token you want to swap. Uniswap will automatically calculate the approximate amount of the “To” token you will receive.
- “Max” Option: Use the “Max” button to swap your entire balance (minus gas fees if it’s the native token).
Review Swap Details and Settings 🔍
- Price Impact: Large swaps, especially for illiquid tokens, can significantly affect the price (“price impact”). Uniswap will show this. High price impact means you’re getting a worse rate.
- Slippage Tolerance: This is the maximum percentage difference between the quoted price and the execution price you’re willing to accept. If the price moves beyond this tolerance, the transaction will fail. For stablecoins, set it low (0.1-0.5%). For volatile altcoins, you might need 1-3% or higher. Adjust in the settings icon.
- Gas Fee Estimate: Uniswap will provide an estimate of the gas fee.
Approve Token Spending (First Time Only) ✅
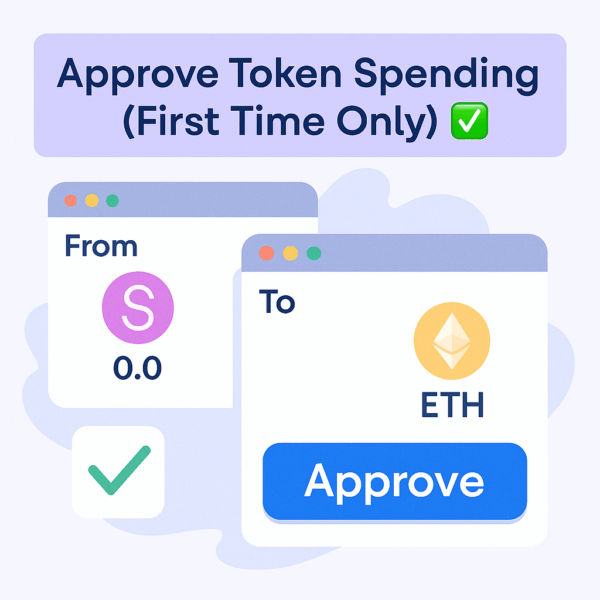
- ERC-20 Approvals: If this is your first time swapping a specific ERC-20 token on Uniswap, you’ll need to “approve” Uniswap’s smart contract to spend that token from your wallet. This is a separate blockchain transaction and requires a small gas fee.
- Confirm in Wallet: Your wallet will pop up asking for confirmation.
Confirm the Swap Transaction ➡️
- “Swap” Button: After approving (if necessary) and reviewing details, click the “Swap” button on Uniswap.
- Confirm in Wallet: Your wallet will pop up again, asking you to confirm the actual swap transaction. This is where the main gas fee is paid.
- Transaction Hash: Once confirmed, you’ll get a transaction hash (Tx ID) that you can use to track the transaction on a block explorer (e.g., Etherscan).
Wait for Transaction Confirmation ⏳
- Blockchain Speed: The transaction will be pending on the blockchain until confirmed by miners/validators. This can take seconds to minutes, depending on network congestion and the gas fee you paid.
- “Swap success!” Once confirmed, Uniswap will show a “Swap success!” message, and your new tokens will appear in your wallet.
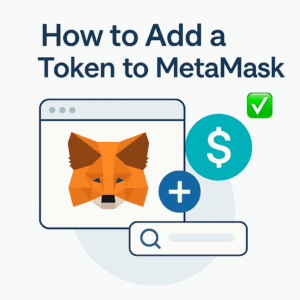
Add Custom Tokens to Your Wallet (If Needed) ➕
- If the newly swapped token doesn’t automatically appear in your wallet, you may need to manually “Add Token” using its contract address. Your wallet (e.g., MetaMask) will have this option.
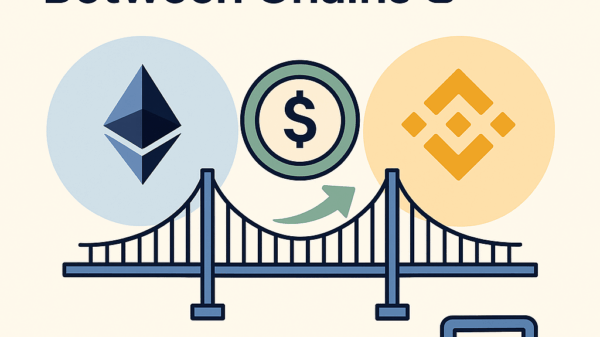
Consider Layer 2 Networks for Lower Fees 🌉
- High Ethereum Gas: Ethereum mainnet gas fees can be expensive. Uniswap supports Layer 2 solutions like Arbitrum, Optimism, Polygon, and Base.
- Bridging: To use Uniswap on an L2, you’ll first need to “bridge” your ETH or tokens from Ethereum mainnet to the chosen L2 network. Uniswap’s interface often includes a bridging feature, or you can use dedicated bridge protocols. Transactions on L2s are significantly cheaper and faster.
Be Aware of Impostor Tokens and Rug Pulls ⚠️
- Scam Tokens: Anyone can create an ERC-20 token. Be extremely cautious of new, unknown tokens promoted with high hype and unrealistic returns. They might be “honeypots” (you can buy, but not sell) or “rug pulls” (developers disappear with liquidity).
- Verify Contract Addresses: Always double-check the token contract address against reliable sources like CoinGecko or CoinMarketCap before swapping, especially for new or less common tokens.
Understand Security Best Practices 🛡️
- Phishing: Only interact with the official Uniswap URL (
app.uniswap.org). - Wallet Security: Keep your wallet’s seed phrase absolutely secret and offline. Enable 2FA on any connected services.
- Revoke Approvals: Periodically review and revoke token approvals for dApps you no longer use via tools like revoke.cash or Etherscan’s Token Approvals section to minimize risk.
- Test with Small Amounts: When trying a new token or new feature, start with a small, insignificant amount.
Using Uniswap for token swaps is a fundamental skill in DeFi. By understanding its mechanics, managing gas fees, and prioritizing security, you can confidently navigate the world of decentralized trading.